
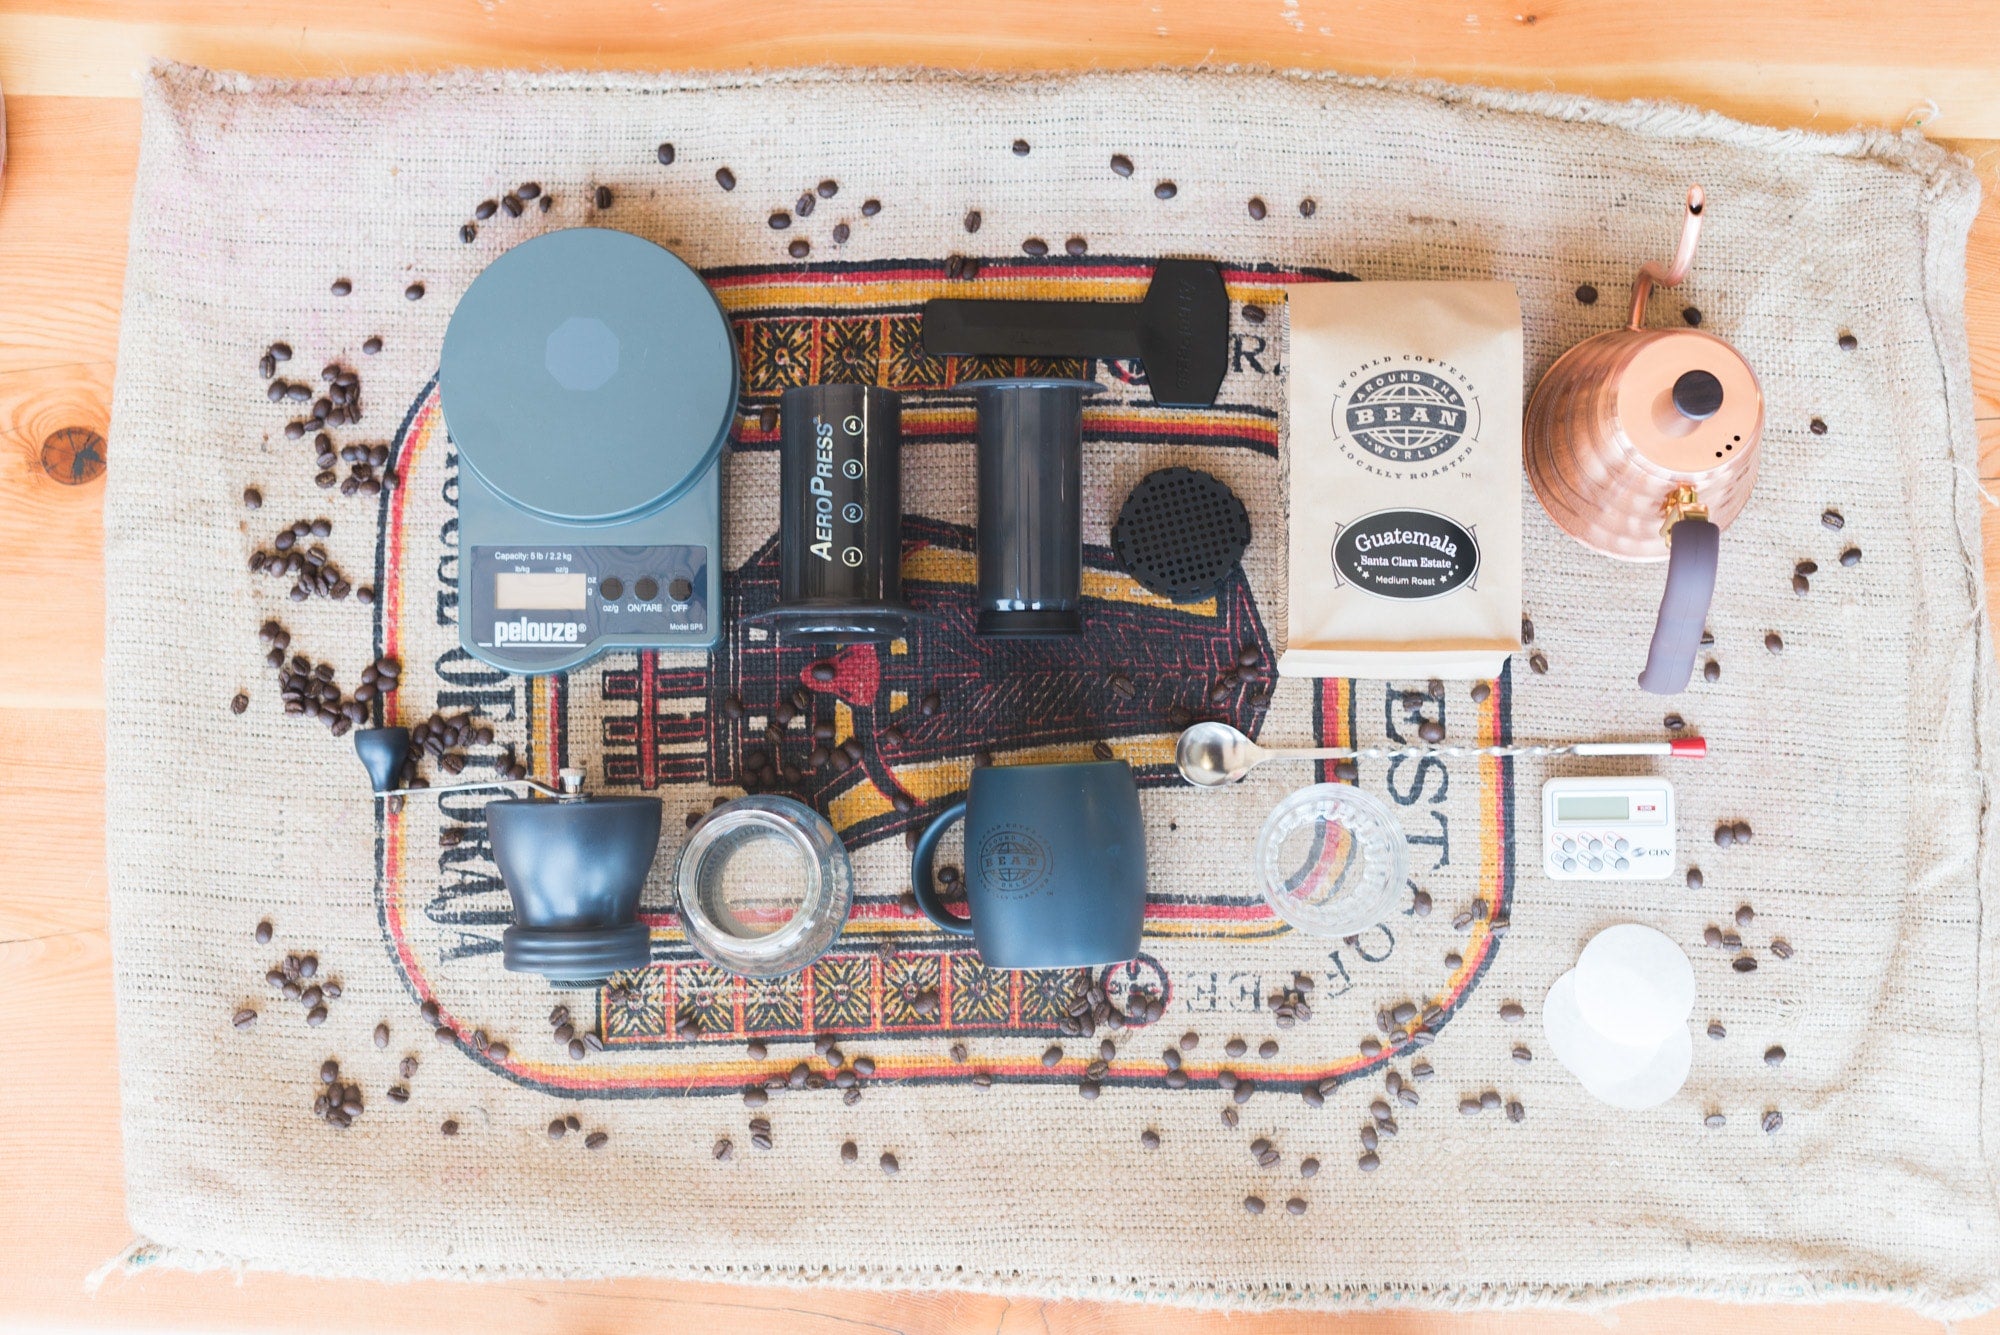
What you'll need:

- Coffee Beans
- Hot Water
- Coffee Grinder
- Aeropress
- Timer
- Scale
- Spoon
Brew Time: 2 minutes
Prep Time: 1 minute
Total: 3 minutes
Grind: Medium - Fine

Hello again! Thanks for tuning in for another edition of our Brew Guides where we show you how to make coffee like a pro. Today we’re going to be talking about how to use an Aeropress. This little guy is super trendy right now – and for good reason. Renowned for it’s lightweight and easy single-cup brewing, the Aeropress is one of my personal favourite brew methods to take travelling and camping. Do not be fooled though, the process is really quick and you have to work on your ninja fingers to do everything you have to get done in a whopping 1m 15s.
Don’t be frustrated if you aren’t able to execute it the first try. As the saying goes: practice makes average. This method features a unique circular filter that does a great job at keeping all the grinds out of the coffee. The Aeropress relies on the “plunging” motion to force the brewing coffee through the filter. This pressure makes it brew faster than brew methods that rely on gravity alone to extract the coffee. This makes it super time-effective. It also brews one serving at a time, which is great if you’re a lone-wolf of a coffee drinker.
There’s also a few vocabulary words you’re going need for this one. Aeropress: The whole gosh darn apparatus as a whole. Brew Chamber: The tubular part of the Aeropress. Plunger: The bit with the rubber flat end. Stop thinking about toilets and focus on what’s important here. Filter Holder: The circular, black plastic part with the holes. Filter: Circular paper filters designed specifically for Aeropresses.
Step 1: Warm It Up
Hit that mug and brew chamber with some hot water (205 degrees F / 95 degrees C) to warm it up. It’s just a nice thing to do to make sure your apparatuses don’t cool down your coffee during the brewing process. Sometimes I like to give the Aeropress another quick dousing in hot water right before I brew, but it’s not hugely necessary.
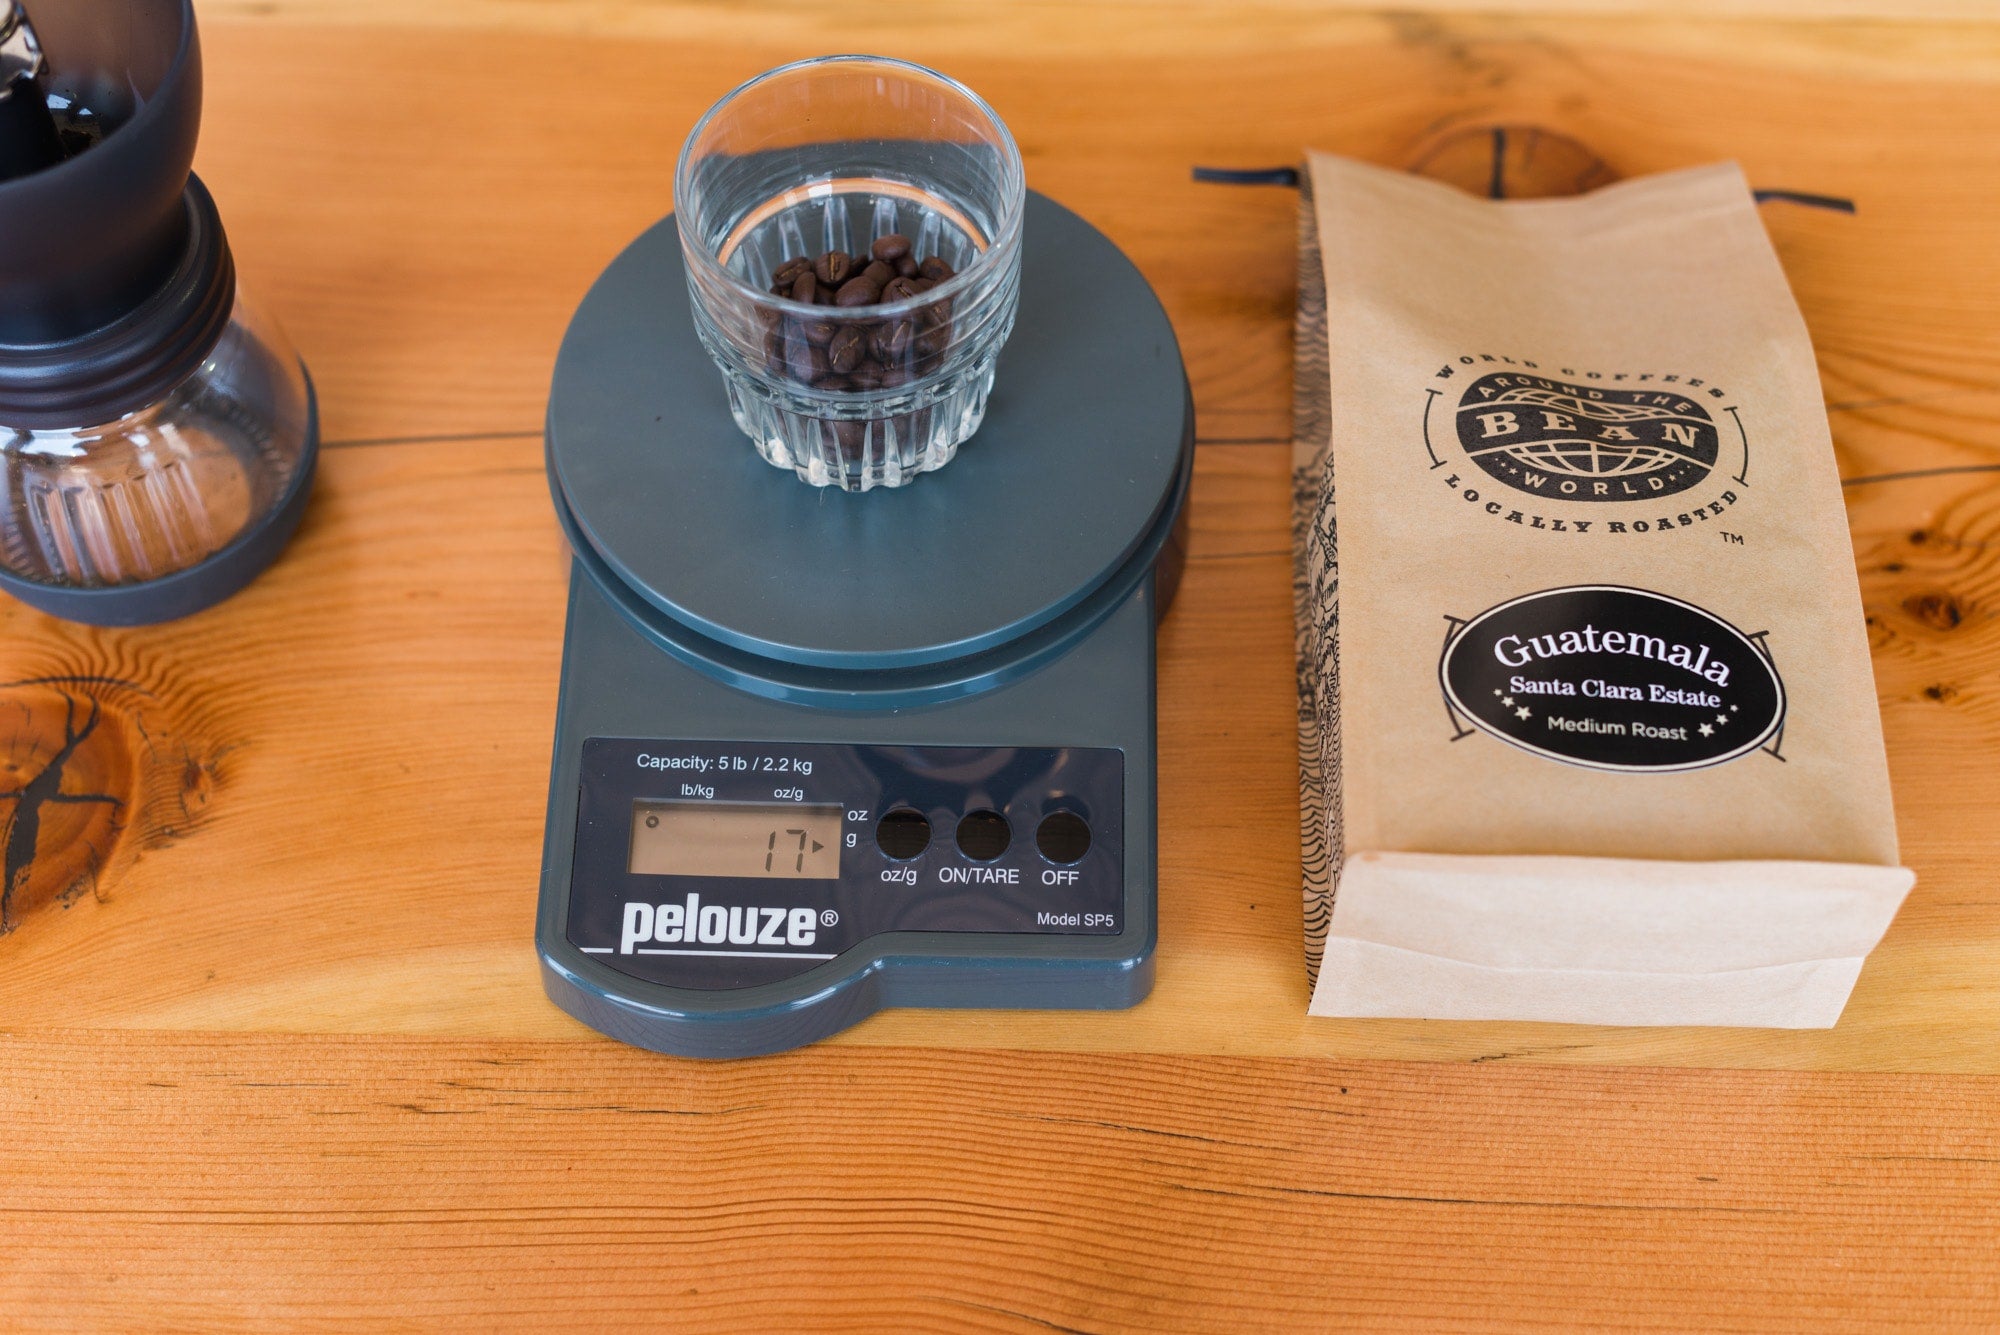
Step 2: Measure and Grind Beans
Now that things are getting hot, it’s time to grind up on it. Measure out your 17g of fresh beans (approximately one Aeropress scoop) and pop it in a grinder. Whether you prefer an electric grinder or a hand grinder is no biggie, but make sure you set the grind to medium fine. Proper grind is important for brewing a great cup of coffee no matter the brew method.
Step 3: Wet Filter and Discard Water
Detach the filter holder from the chamber (the black part with little holes in it) and slap a paper filter in there. Watching your fingers, carefully wet the paper filter with hot water. This gets rid of any paper flavour or uneven brewing that might occur with a dry filter. It’s best to do this over a sink for obvious reasons that I did not think through. Reattach the filter holder to the chamber. Take the hot water from the pre-heating mug and throw it at your enemies. Hopefully, your enemies live in your sink. Also don’t actually hurt somebody. How’s that for de-escalating quickly?

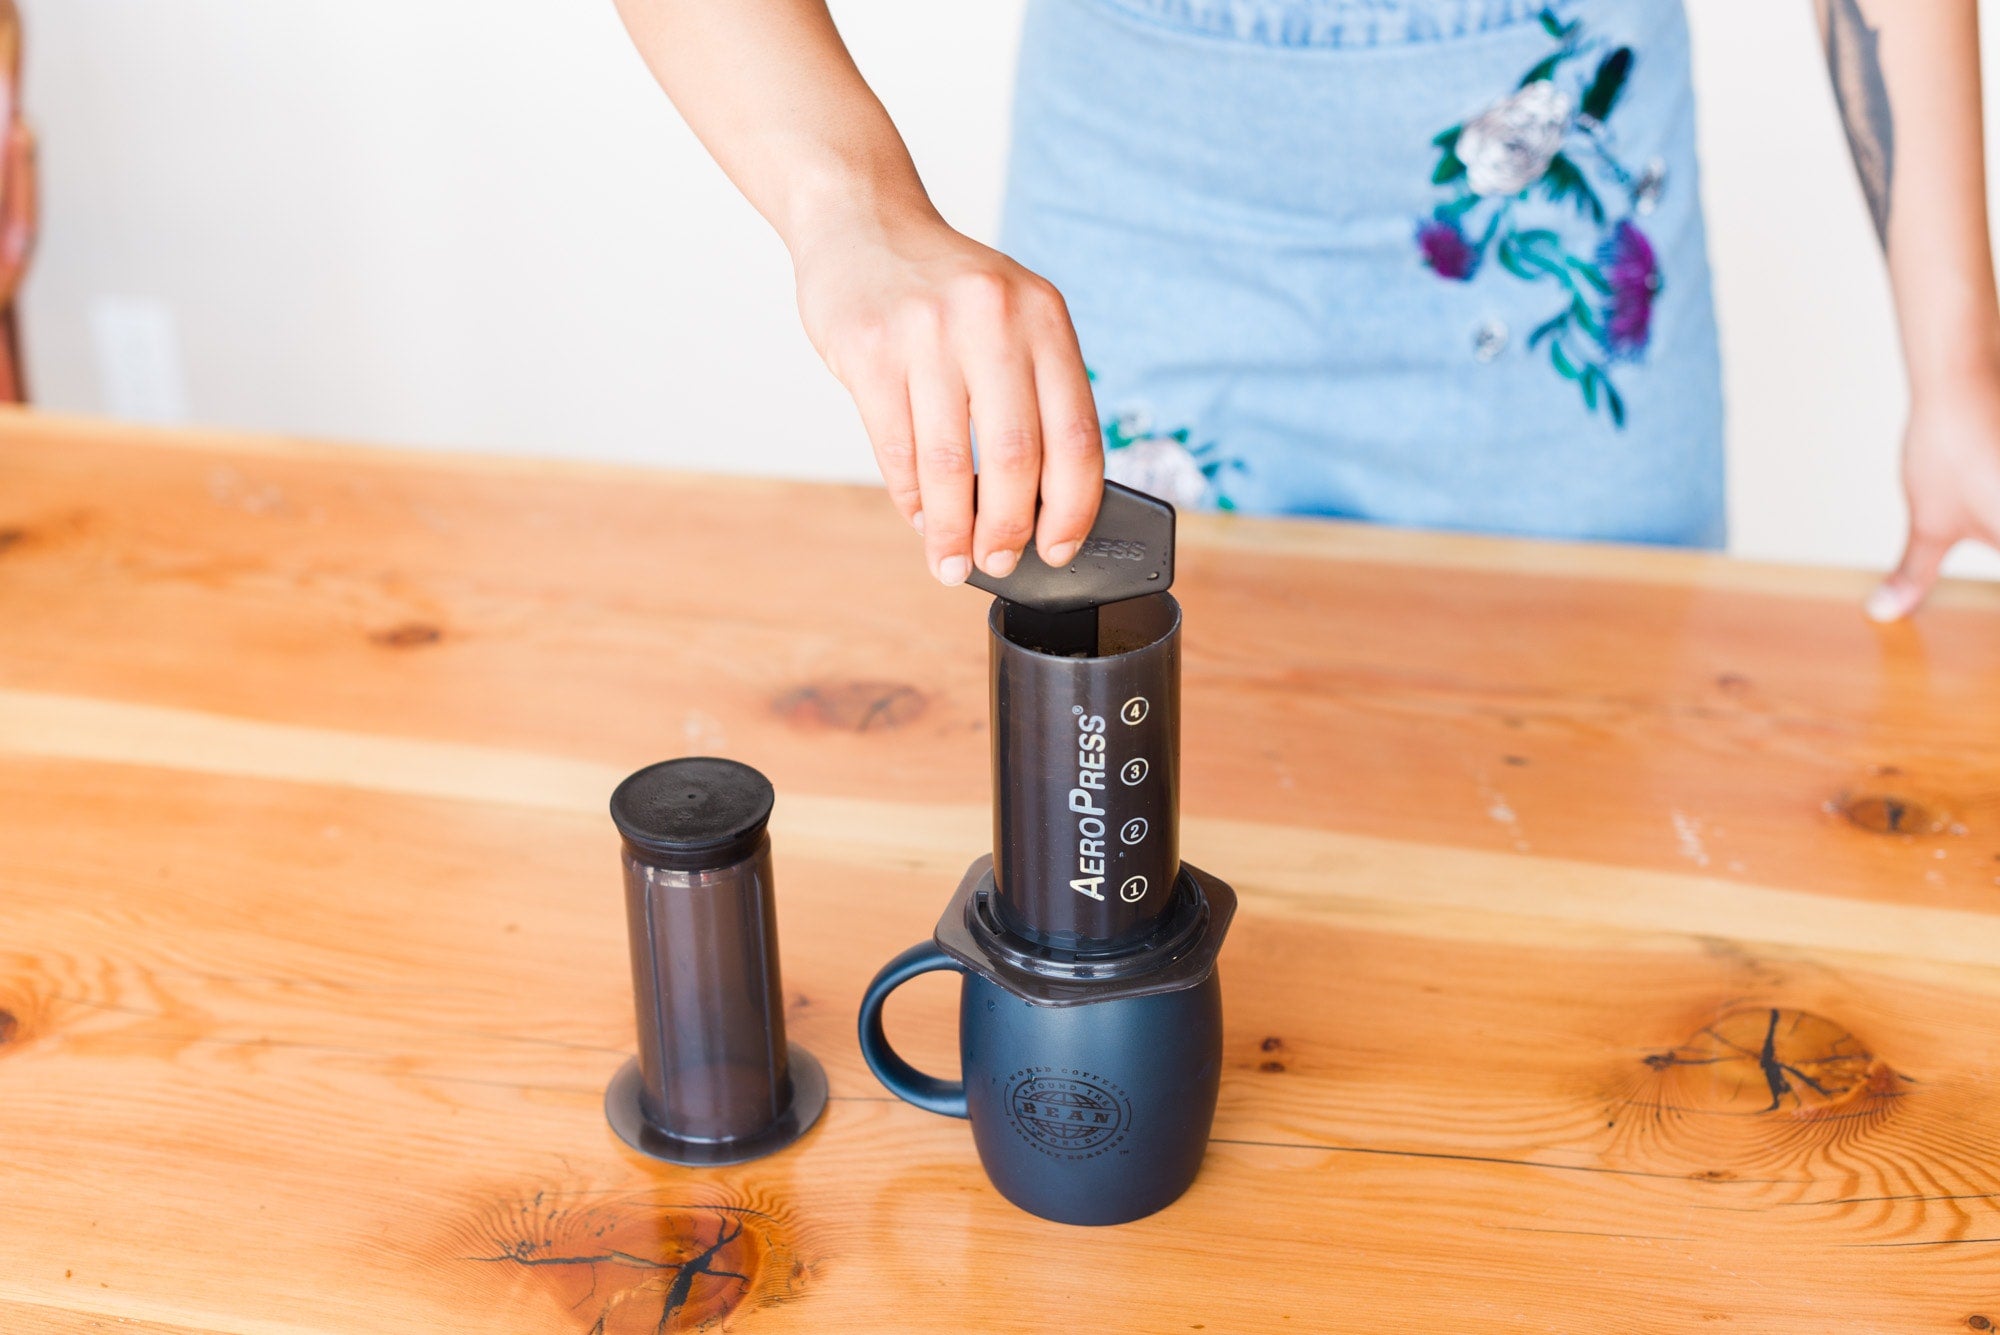
Step 4: Add Grounds to Aeropress
Place the Aeropress over the cup filter-side down. The side of the Aeropress should read 1, 2, 3, 4. If it reads (upside-down) 4, 3, 2, 1 and it’s halfway into your cup, check-the-heck-out-of-yourself before you wreck-the-heck-out-of-yourself. Make sure the filter holder is attached to the end closest to the “4” with a dampened filter and pour your grinds in the chamber.

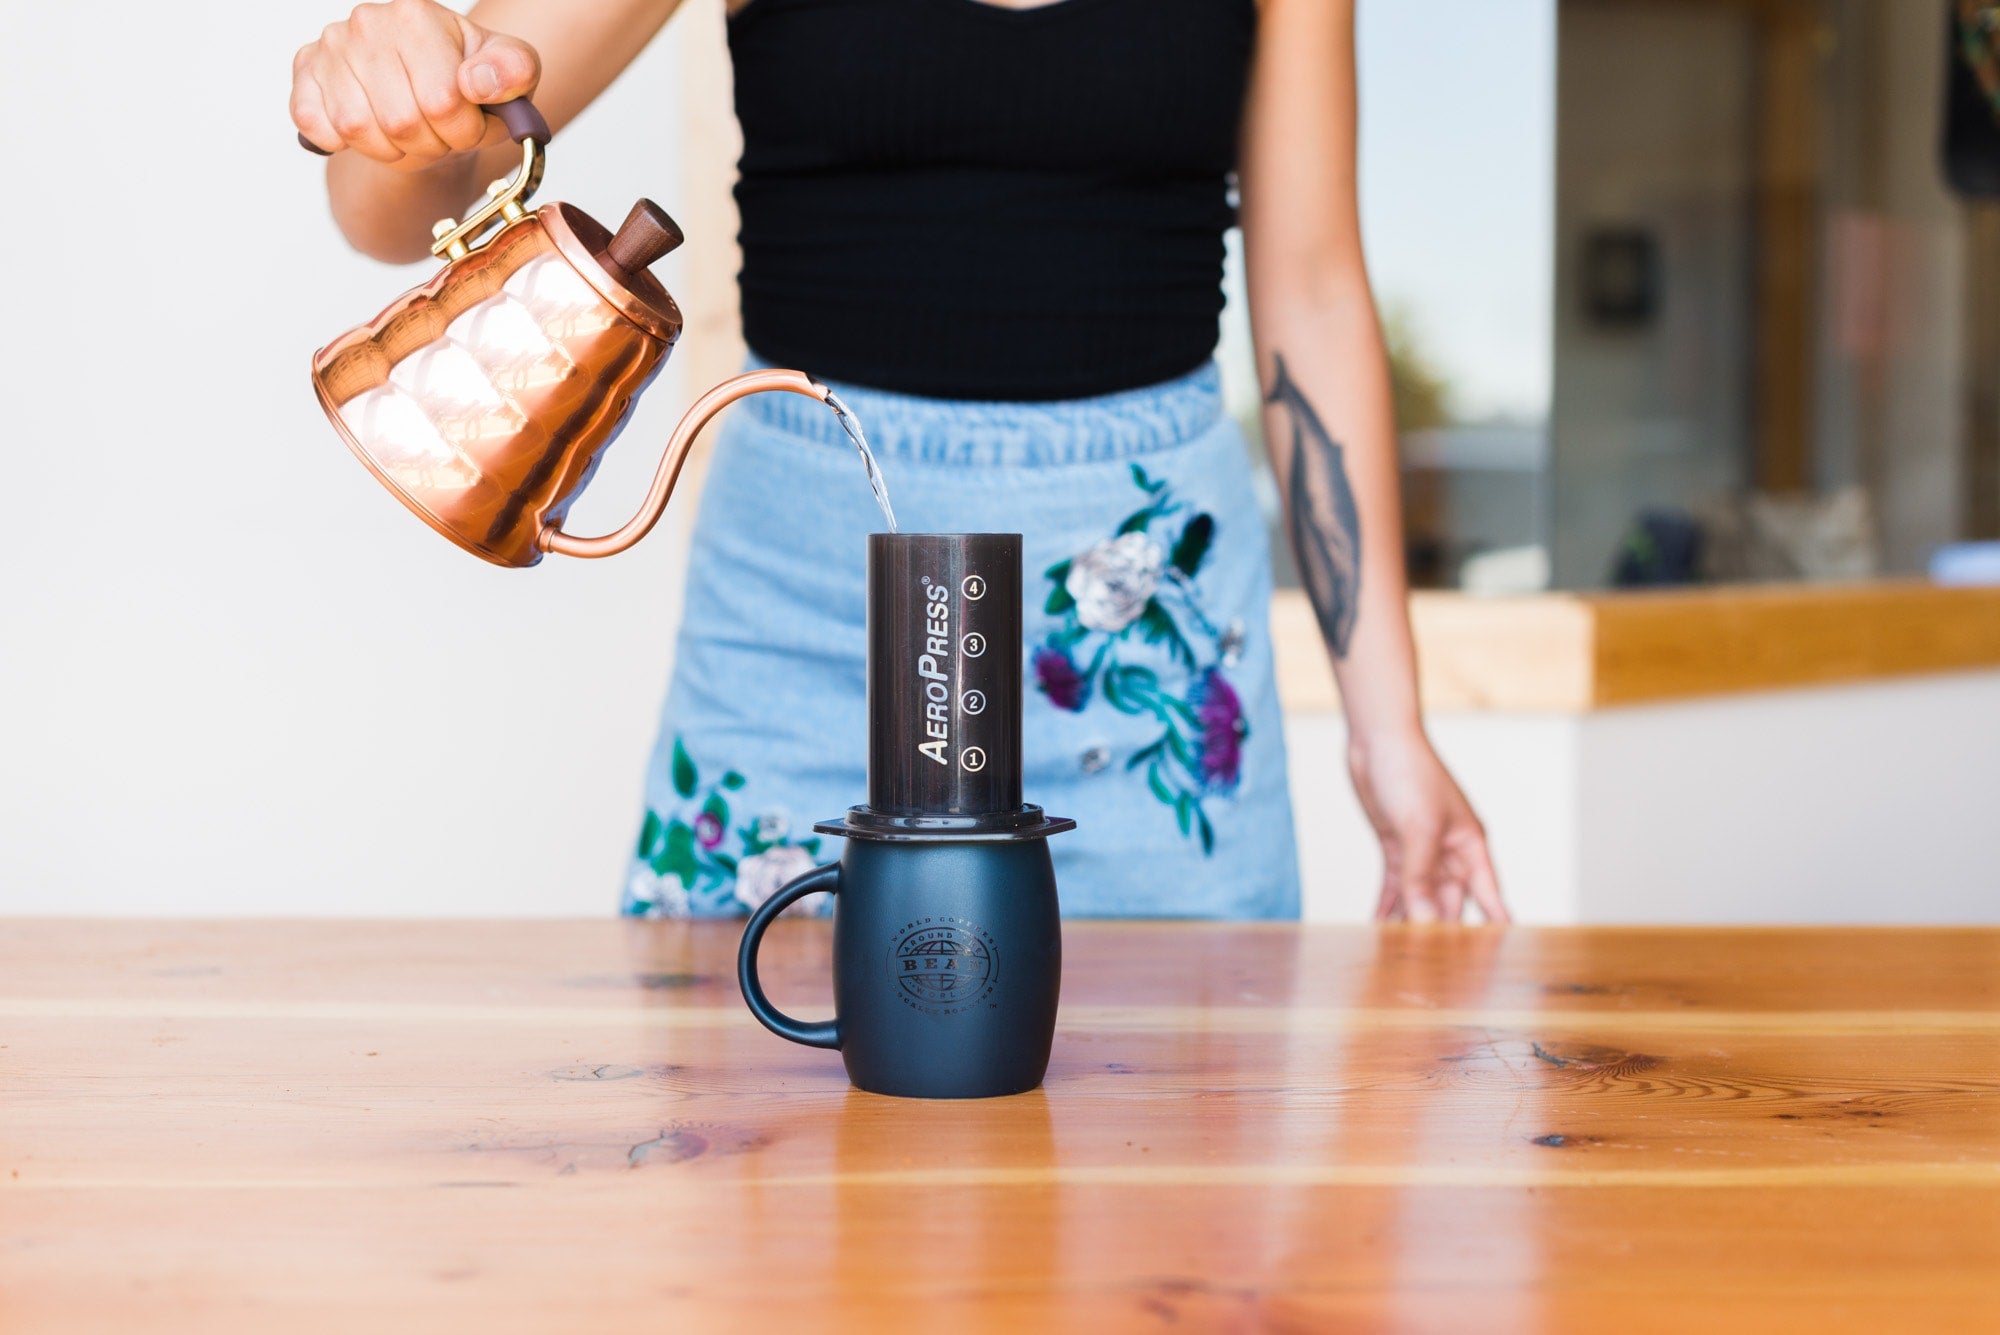
Step 5: Add Water
Hit that timer for 1m 15s. Get that good old-fashioned H2O off the boil (205 degrees F / 95 degrees C) and pour water to the “4”. This should be approximately 220g just in case you’re rationing your boiled water or you’re super frugal with your (basically) free resources. If you resonate with the case in point, take “super thrifty” right off your Tinder profile (you’re definitely single) and trade your knock-off PayLess shoes for some real sneakers you bum.
Step 6: Stir the Slurry
That grinds-y, watery crust that appears at the surface of the almost-coffee is called the slurry. It is holding all of your flavour hostage, so break it up with a stirring device and let it be one with the water.
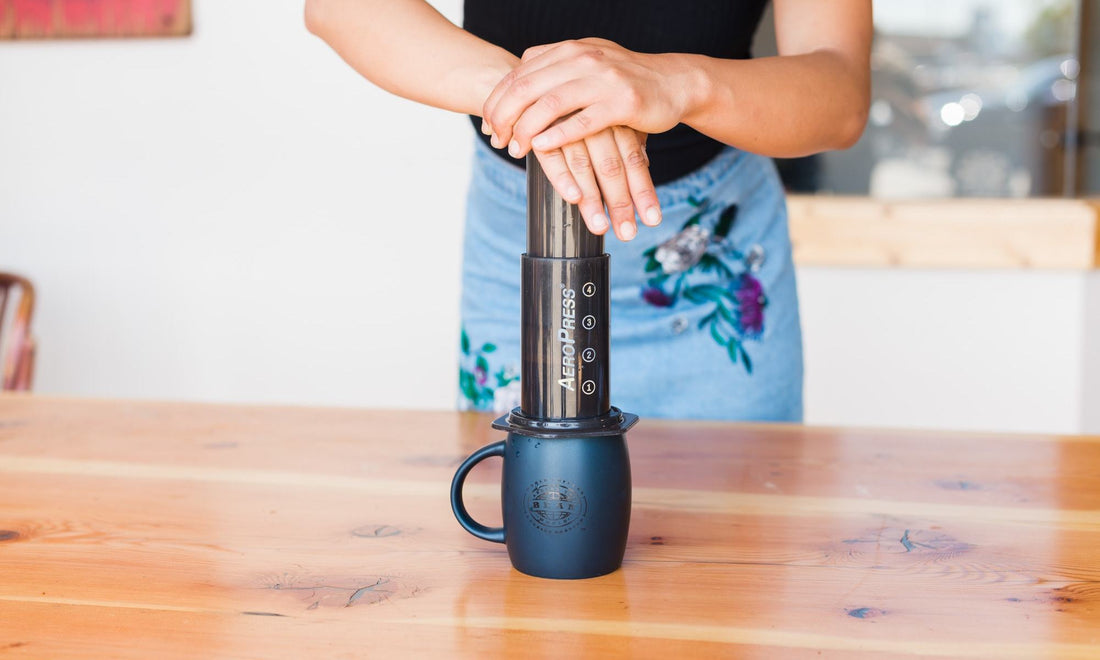
Step 7: Execute the “Back Plunge”
Plunge down part way approximately from the top just below the “1” and pull the plunger back outwards towards the top of the Aeropress without fully removing the plunger from the brew chamber. This creates a vacuum effect that holds all your coffee in the chamber, allowing it to sit and brew without gravity pushing it through the filter and prematurely brewing it.

Step 8: Stir the Slurry Again & Plunge
Once the timer goes off indicating that 1m 15s have elapsed, pull out the plunger and give it one more stir in there. After you’re satisfied with the stir, push the plunger back in and push down hard. I know it’s going to feel like you’re going to break something, but hopefully, you have a sturdy mug (Pro Tip: Don’t use paper or plastic). Once you hear a hissing sound and then plunger has been pushed all the way down, you’ve done it!